Config LLamaSharp
BotSharp contains LLamaSharp plugin that allows you to run local llm models. To use the LLamaSharp, you need to config the BotSharp project with few steps.
Install LLamaSharp Backend
Before use LLamaSharp plugin, you need to install one of the LLamaSharp backend services that suits your environment.
LLamaSharp.Backend.Cpu: Pure CPU for Windows & Linux. Metal for Mac.LLamaSharp.Backend.Cuda11: CUDA 11 for Windows and LinuxLLamaSharp.Backend.Cuda12: CUDA 12 for Windows and Linux
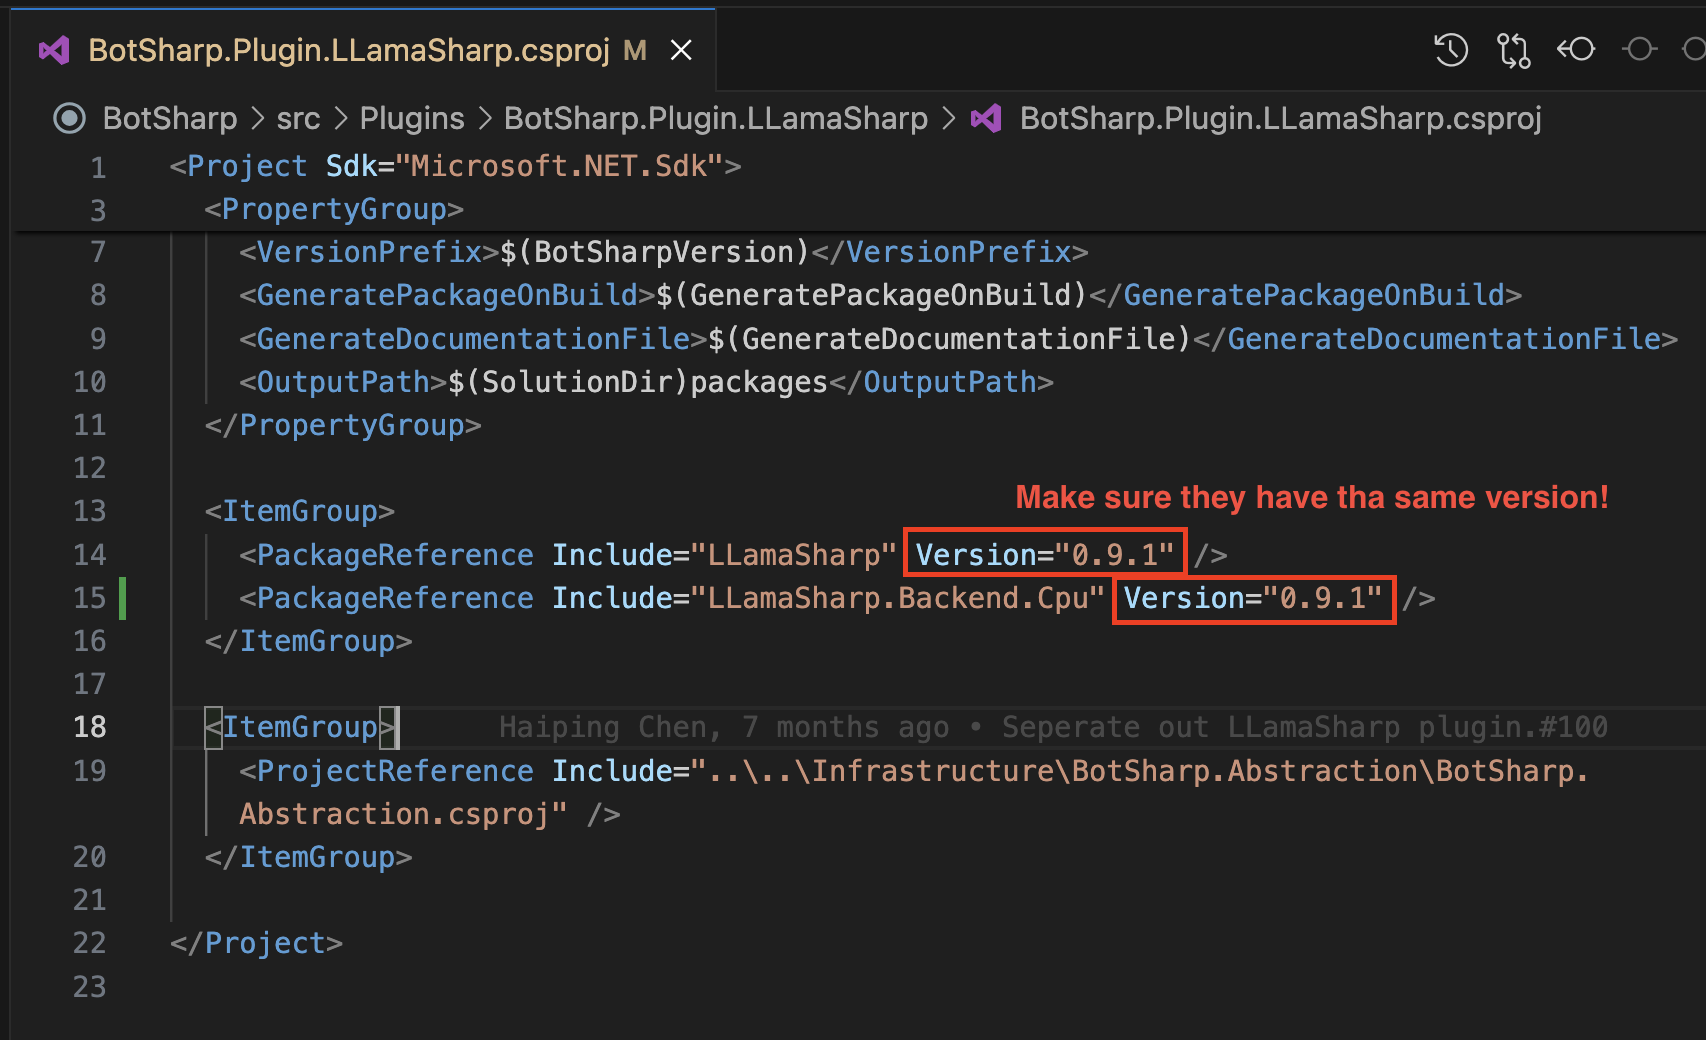
Please install the same version of LLamaSharp Backend with the LLamaSharp in BotSharp.Plugin.LLamaSharp.csproj.
# move to the LLamaSharp Plugin Project
$ cd src/Plugins/BotSharp.Plugin.LLamaSharp
# Install the LLamaSharp Backend
$ dotnet add package LLamaSharp.Backend.Cpu --version 0.9.1
Download and Config Local LLM Models
LLamaSharp supports many LLM Models like LLaMA and Alpaca. Download the gguf format models and save them in your machine.
We will use a Llama 2 model in this tutorial.
After downloading the model, open the src/WebStarter/appsettings.json file to config the LLamaSharp models. Set the LlmProviders and LlamaSharp fields to correct settings as your computer. For example:
{
    ...,
    "LlmProviders": [
        ...,
        {
            "Provider": "llama-sharp",
            "Models": [
                {
                "Name": "llama-2-7b.Q2_K.gguf",
                "Type": "chat"
                }
            ]
        },
        ...
    ],
    ...,
    "LlamaSharp": {
        "Interactive": true,
        "ModelDir": "/Users/wenwei/Desktop/LLM",
        "DefaultModel": "llama-2-7b.Q2_K.gguf",
        "MaxContextLength": 1024,
        "NumberOfGpuLayer": 20
    },
    ...
}
For more details about LLamaSharp, visit LLamaSharp - GitHub.